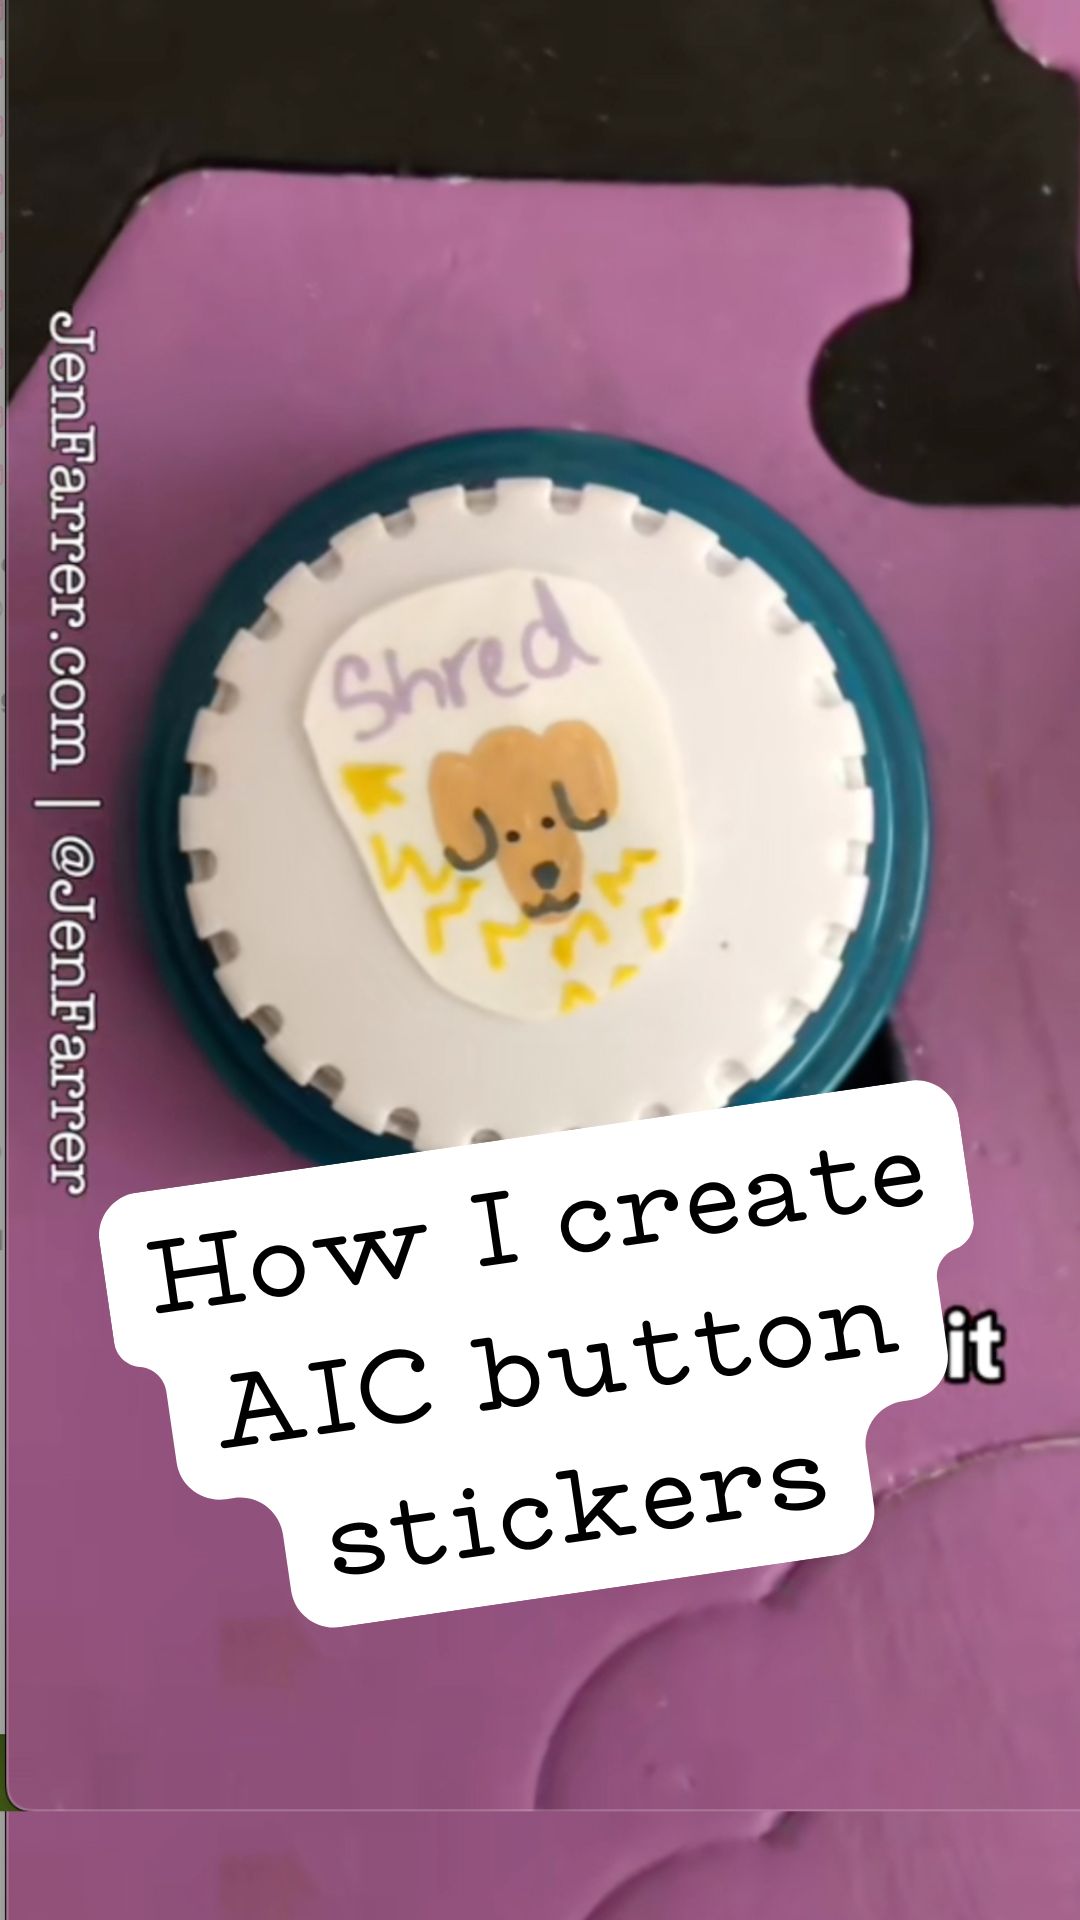
Making custom stickers for AIC buttons is super simple and a fun way to personalize your setup! I’m showing you my quick and easy process for creating durable stickers that fit perfectly on button tops.
Here’s what you’ll need:
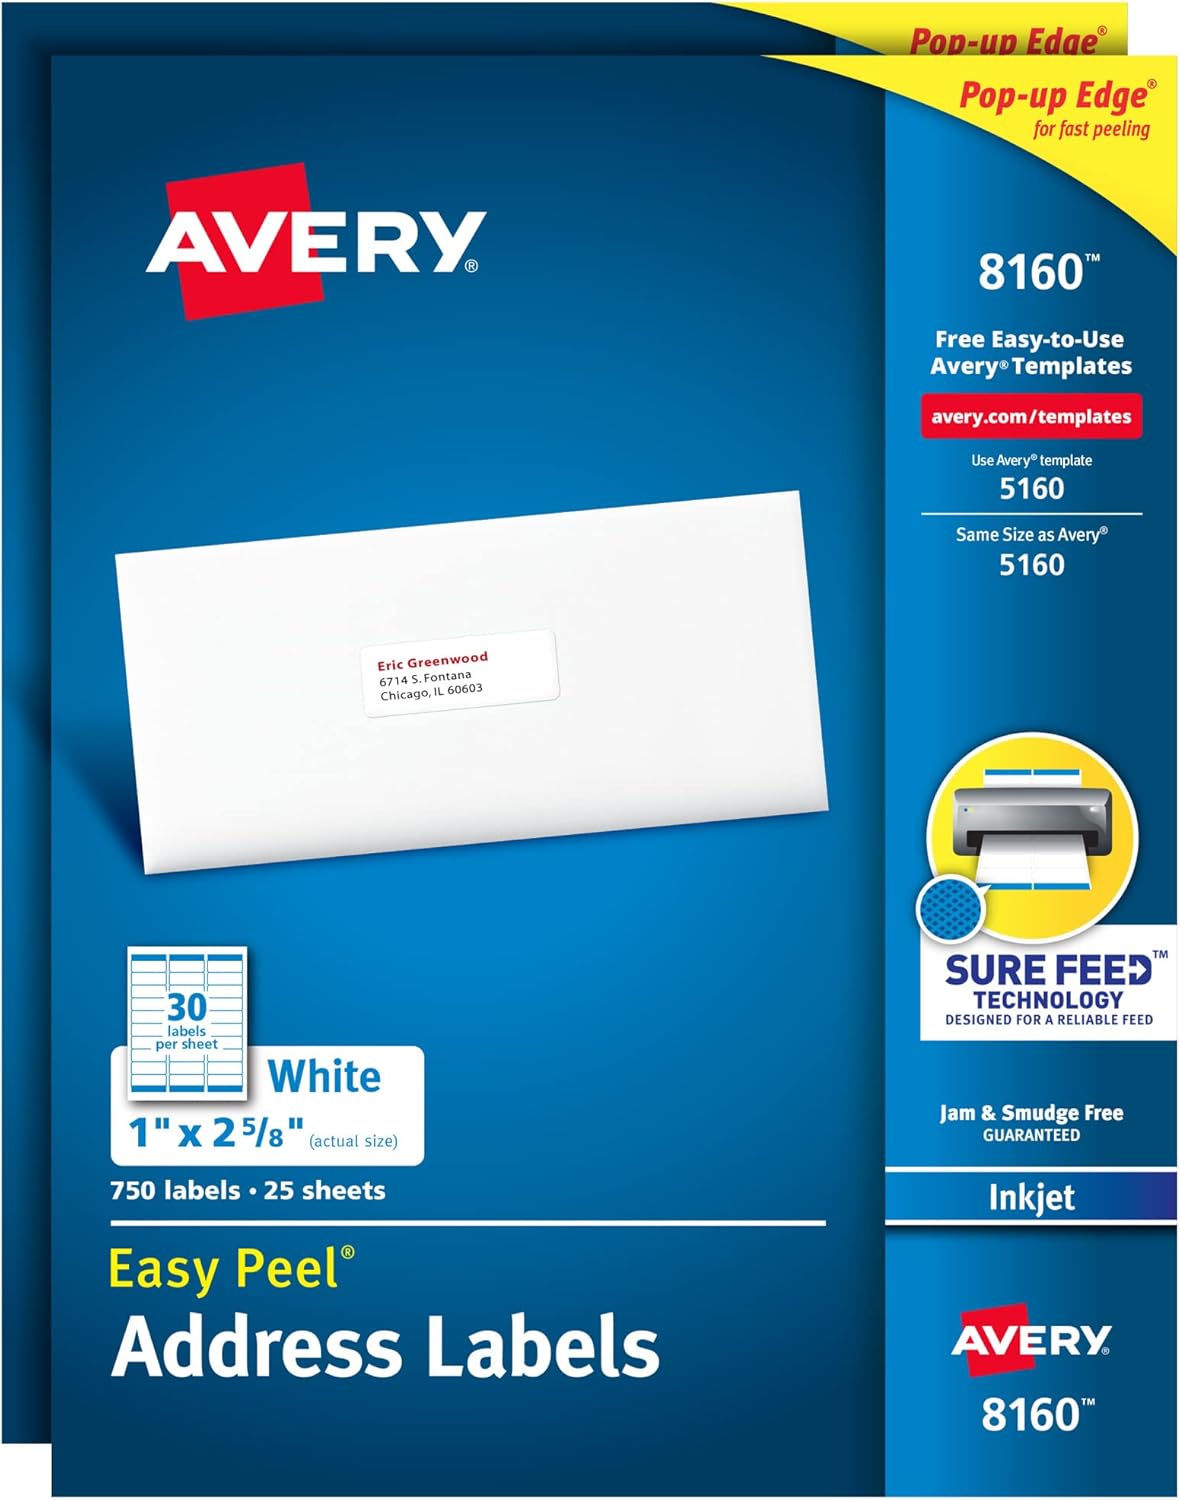
Sticker paper (any size works since you’re cutting it anyway)
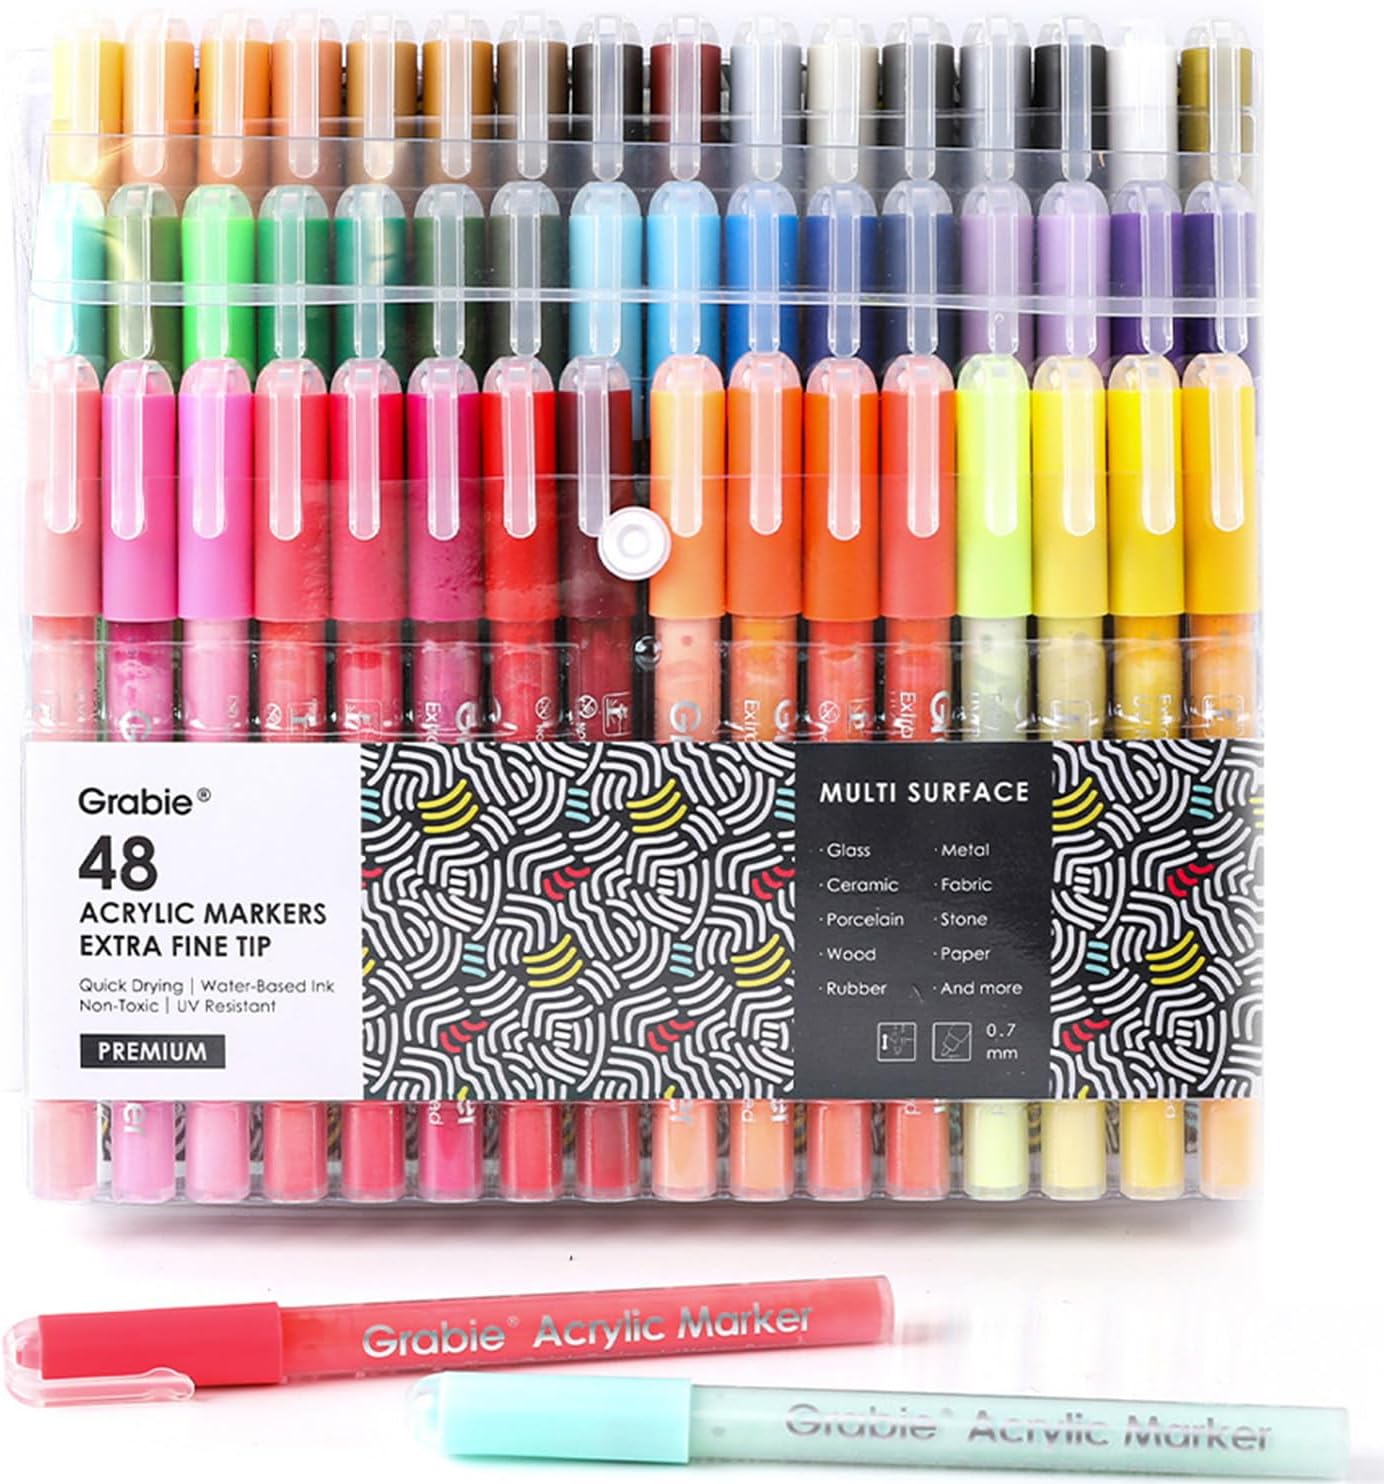
Acrylic markers (I prefer using Grabie, but feel free to use whatever you’ve got!)
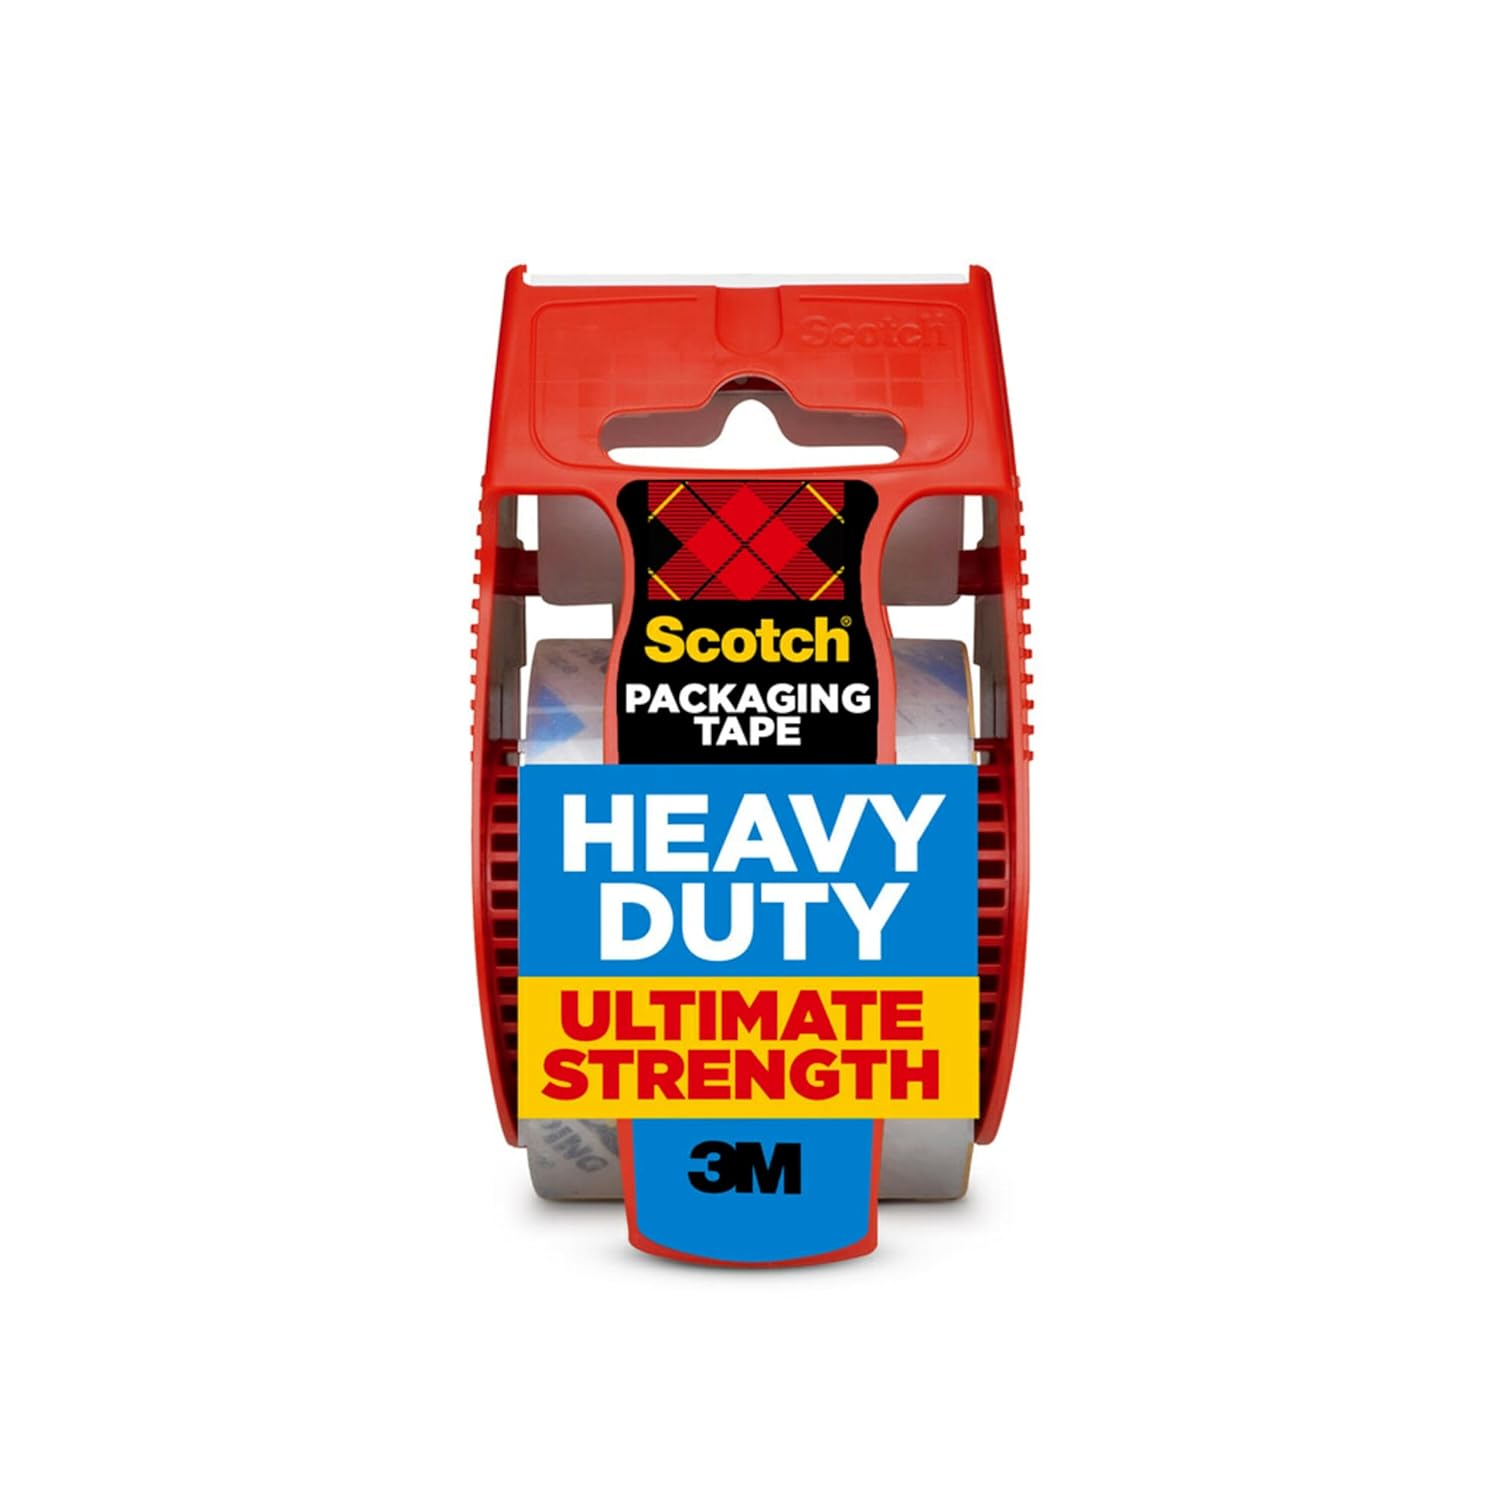
Packing tape
Scissors
Steps to Create the Stickers:
Draw Your Design: Start by sketching your designs directly onto the sticker paper. This is where you can get creative! Use your favorite colors and let your imagination run wild. I’ve found that acrylic markers work great for this.
Seal the Stickers: Once your designs are complete, cover the entire sheet with packing tape. This step is crucial as it seals your design and makes the stickers more durable.
Cut Them Out: Cut your designs to size. I recommend making the stickers slightly smaller than the tops of your AIC buttons. Since the button tops are curved, smaller stickers stick better and ensure a clean seal without any gaps.
Stick ‘Em On: Peel off the backing of the sticker paper and place the sticker on your button. They’ll stick well, so there’s no need for extra adhesive.
And that’s it!


